Technical Diagramming
Using Flow Diagrams in Agile Teams

AI Workspace for Diagrams & Collaboration
Get your team started in minutes
Sign up with your work email for seamless collaboration.
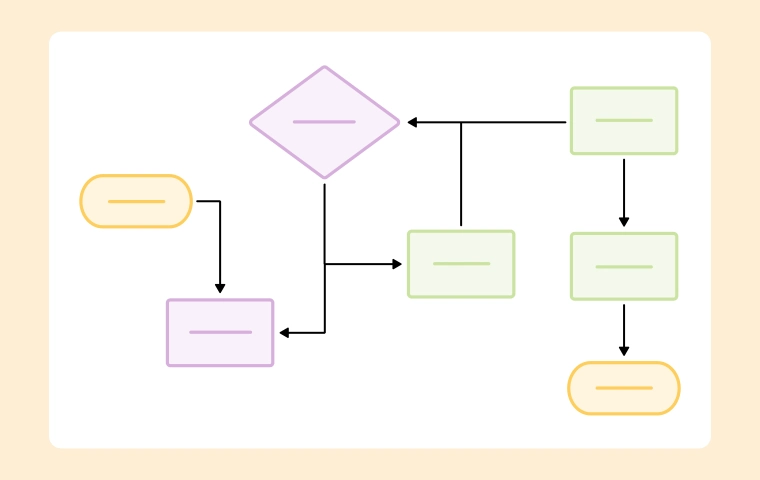
Agile teams move fast, but speed without clarity creates rework. Flow diagrams provide a shared visual for user paths, decision points, and handoffs across design, build, and test.
Instead of long requirement docs, teams align around a compact map of “what happens next,” which reduces ambiguity, shortens feedback loops, and makes sprint commitments realistic and testable.
Build yours with the Flow Diagram Template inside the Workflow & Process Diagram Maker. For broader context, see the Workflow & Process Diagrams Guide.
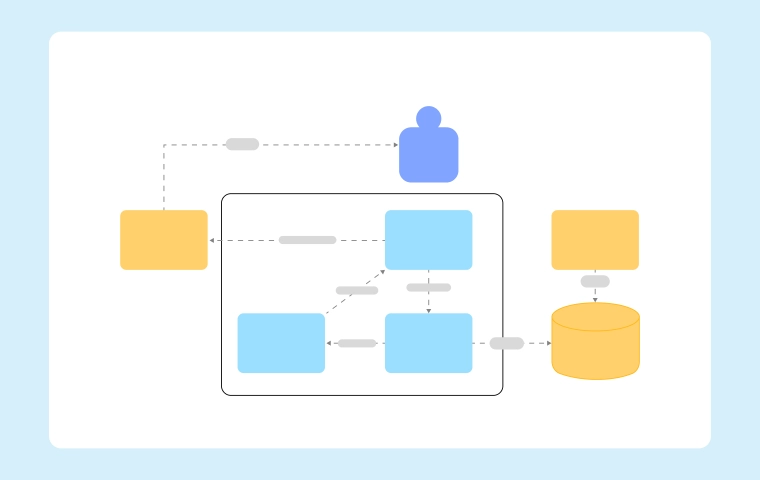
Agile prioritizes working software and collaboration. Flow diagrams keep conversations concrete by showing paths, edges, and failure modes that user stories alone may hide.
They also help testers, analysts, and stakeholders evaluate completeness early before code so teams cut churn and deliver increments that match expectations.
Key benefits for squads:
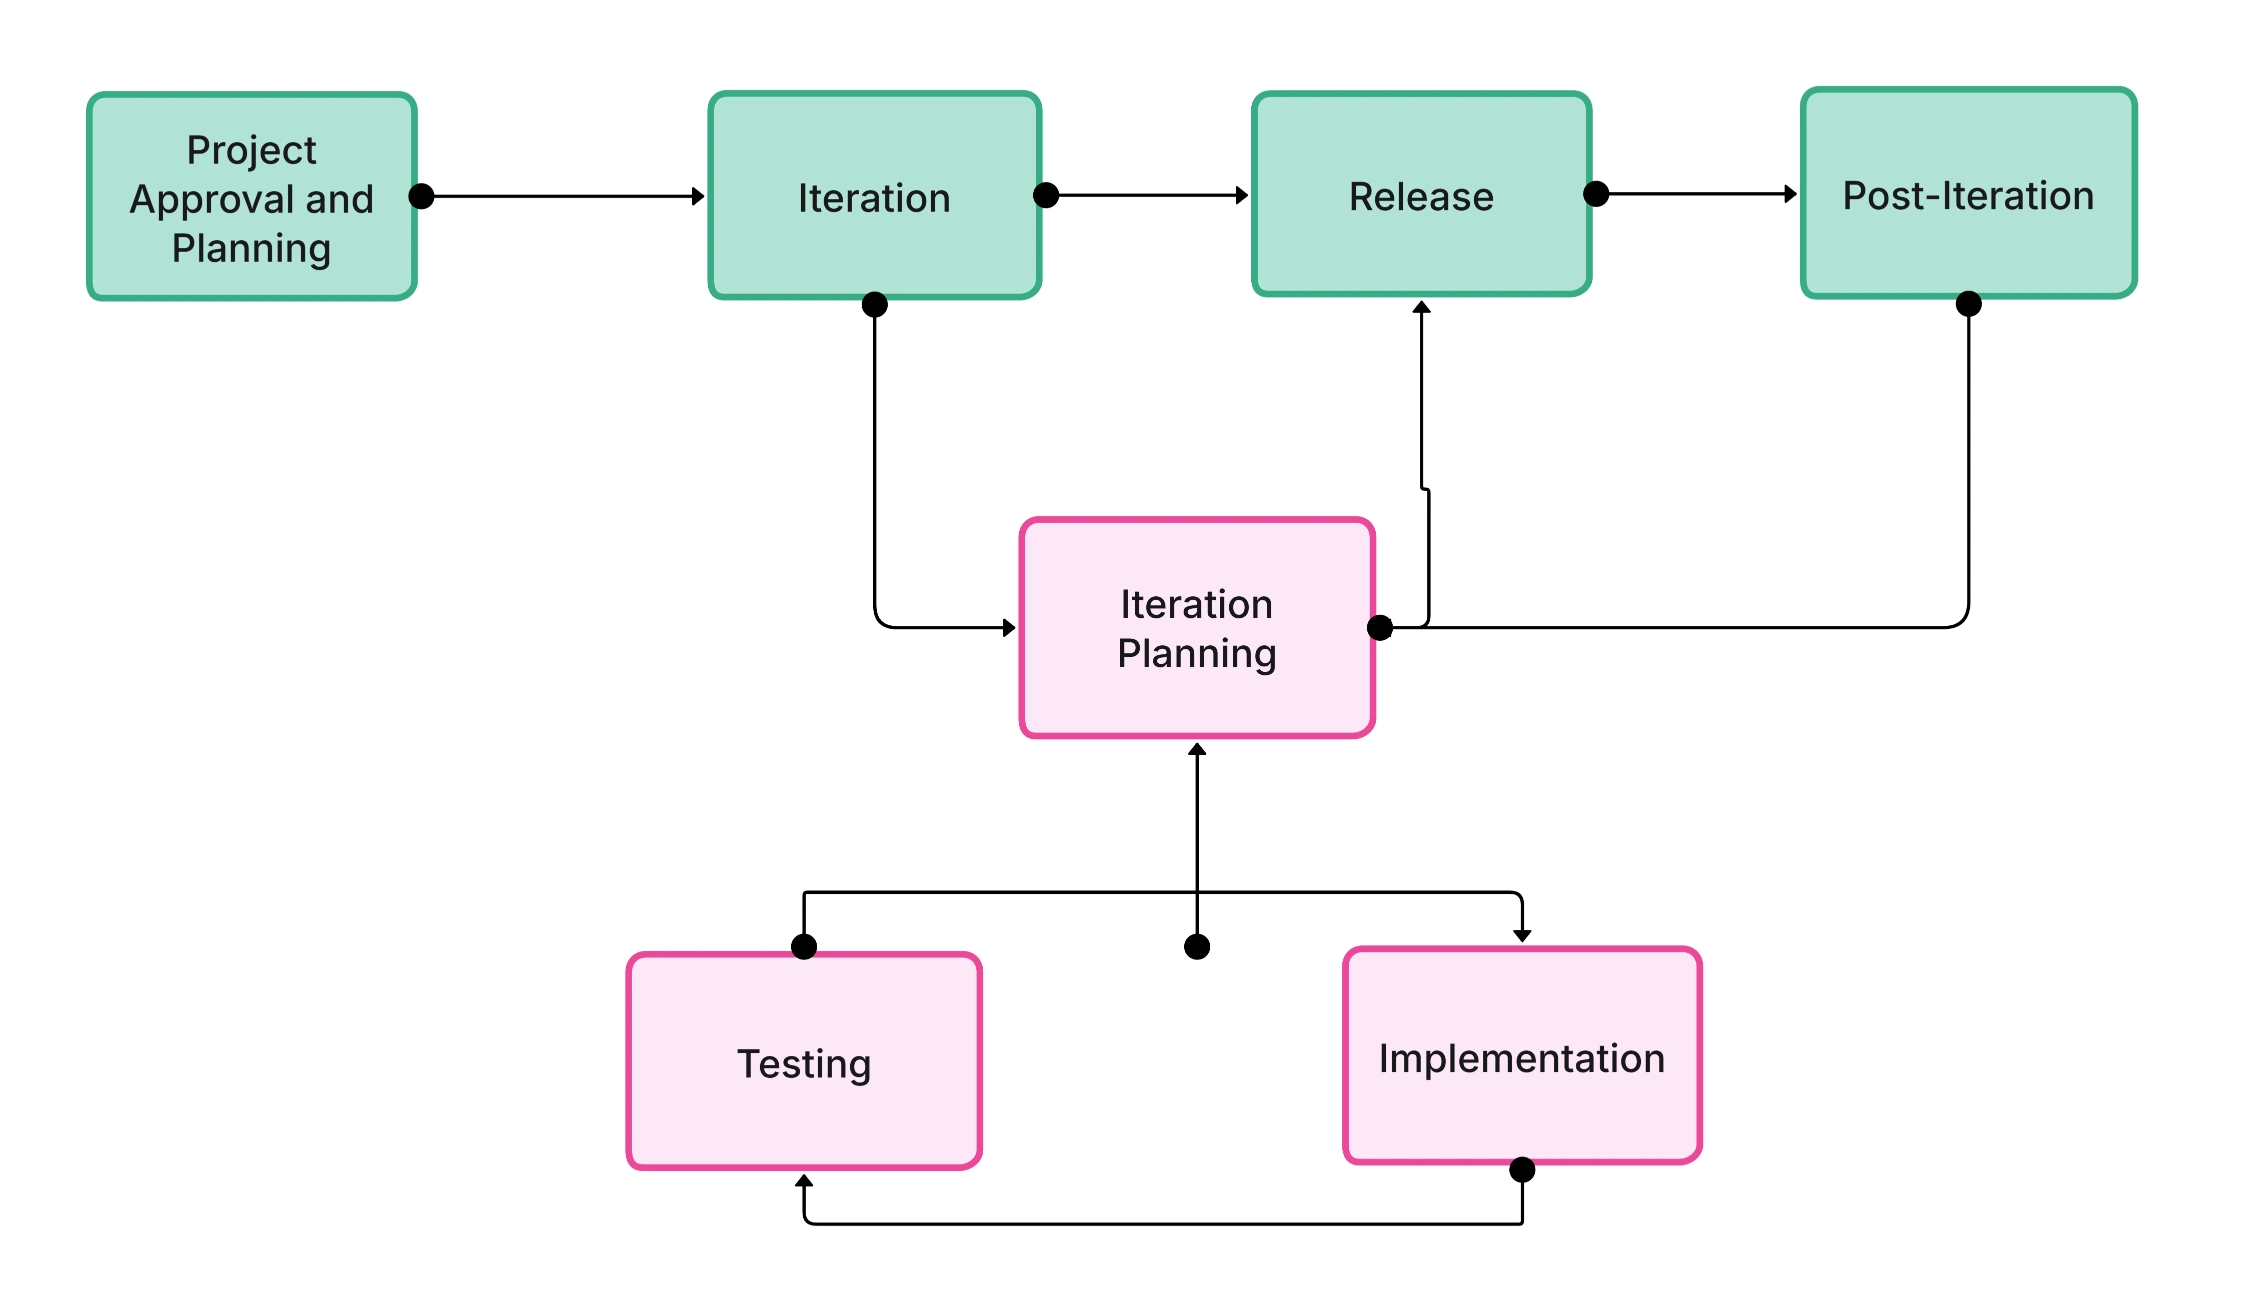
Flow diagrams add value from discovery to release, acting as a lightweight living artifact that evolves with the product.
Use them to shape story maps, derive acceptance criteria, and clarify integration paths across services or third-party APIs.
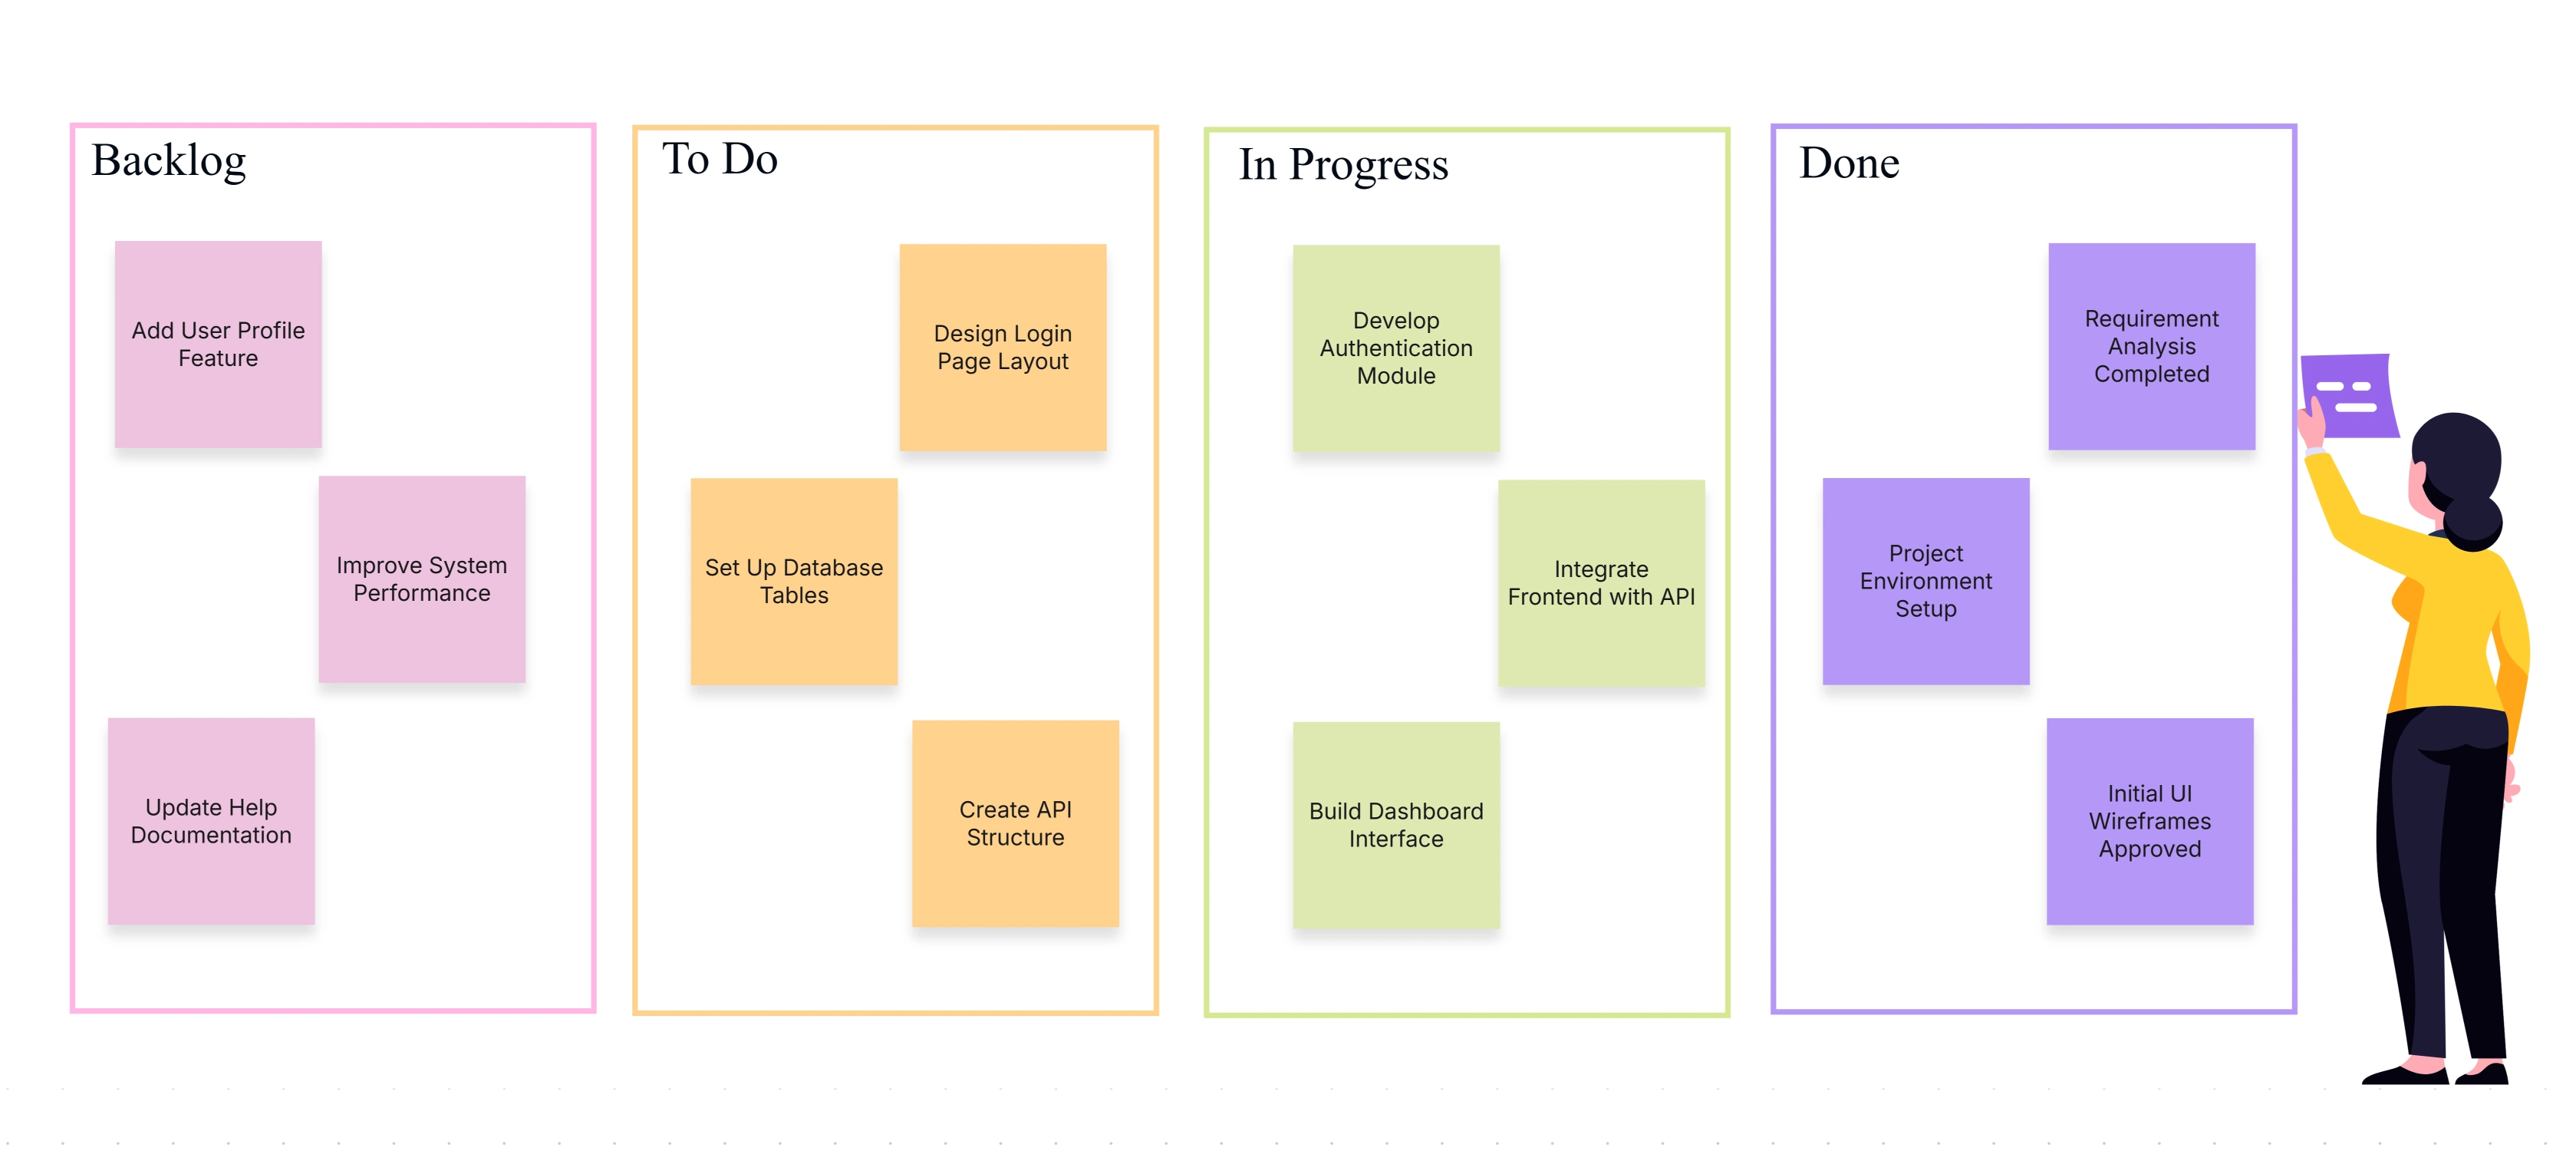
High-impact touchpoints:
Keep diagrams small, readable, and close to the work. Focus on steps, decisions, inputs/outputs, and observable outcomes that tie to acceptance criteria.
Prefer simple symbols and short labels. Add links to stories, APIs, and docs so the diagram becomes a navigable hub for the squad.
Practical steps:
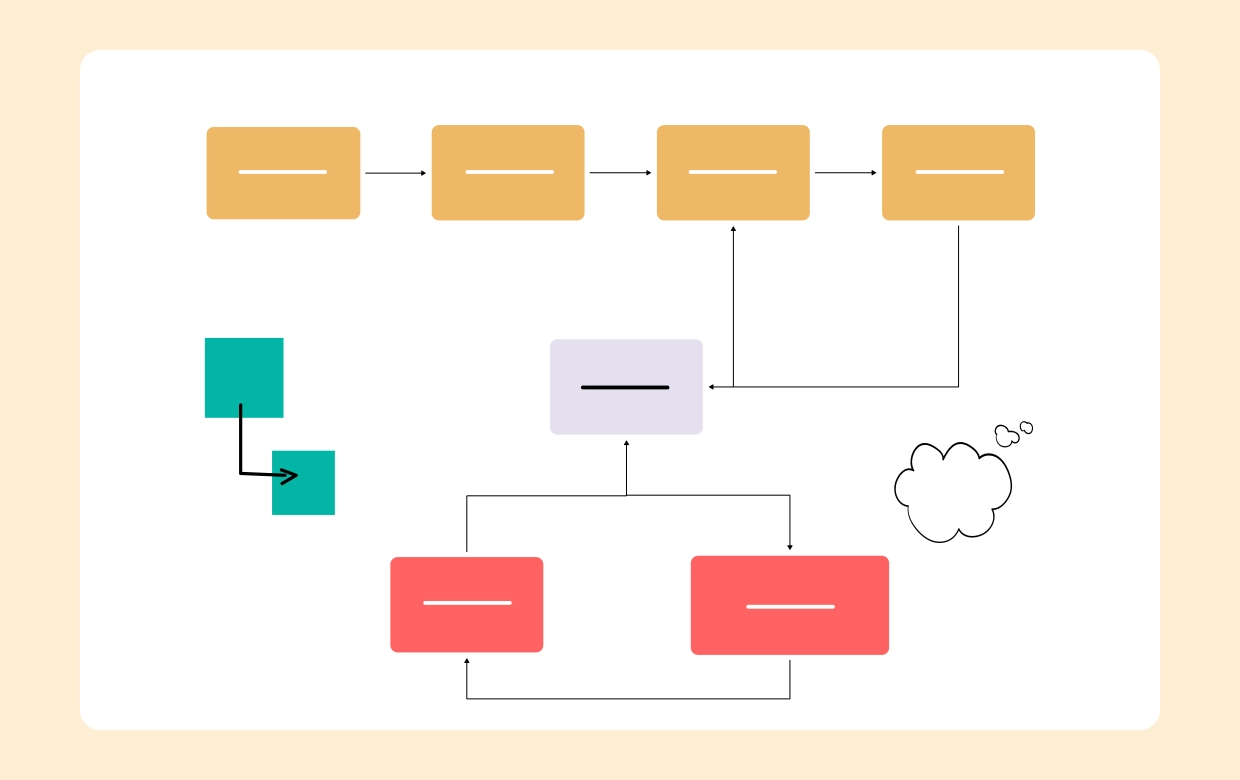
Checkout flow (e-commerce): Map add-to-cart → payment → confirmation, with branches for failed payments and address validation. Teams slice by branch and test error handling from day one.
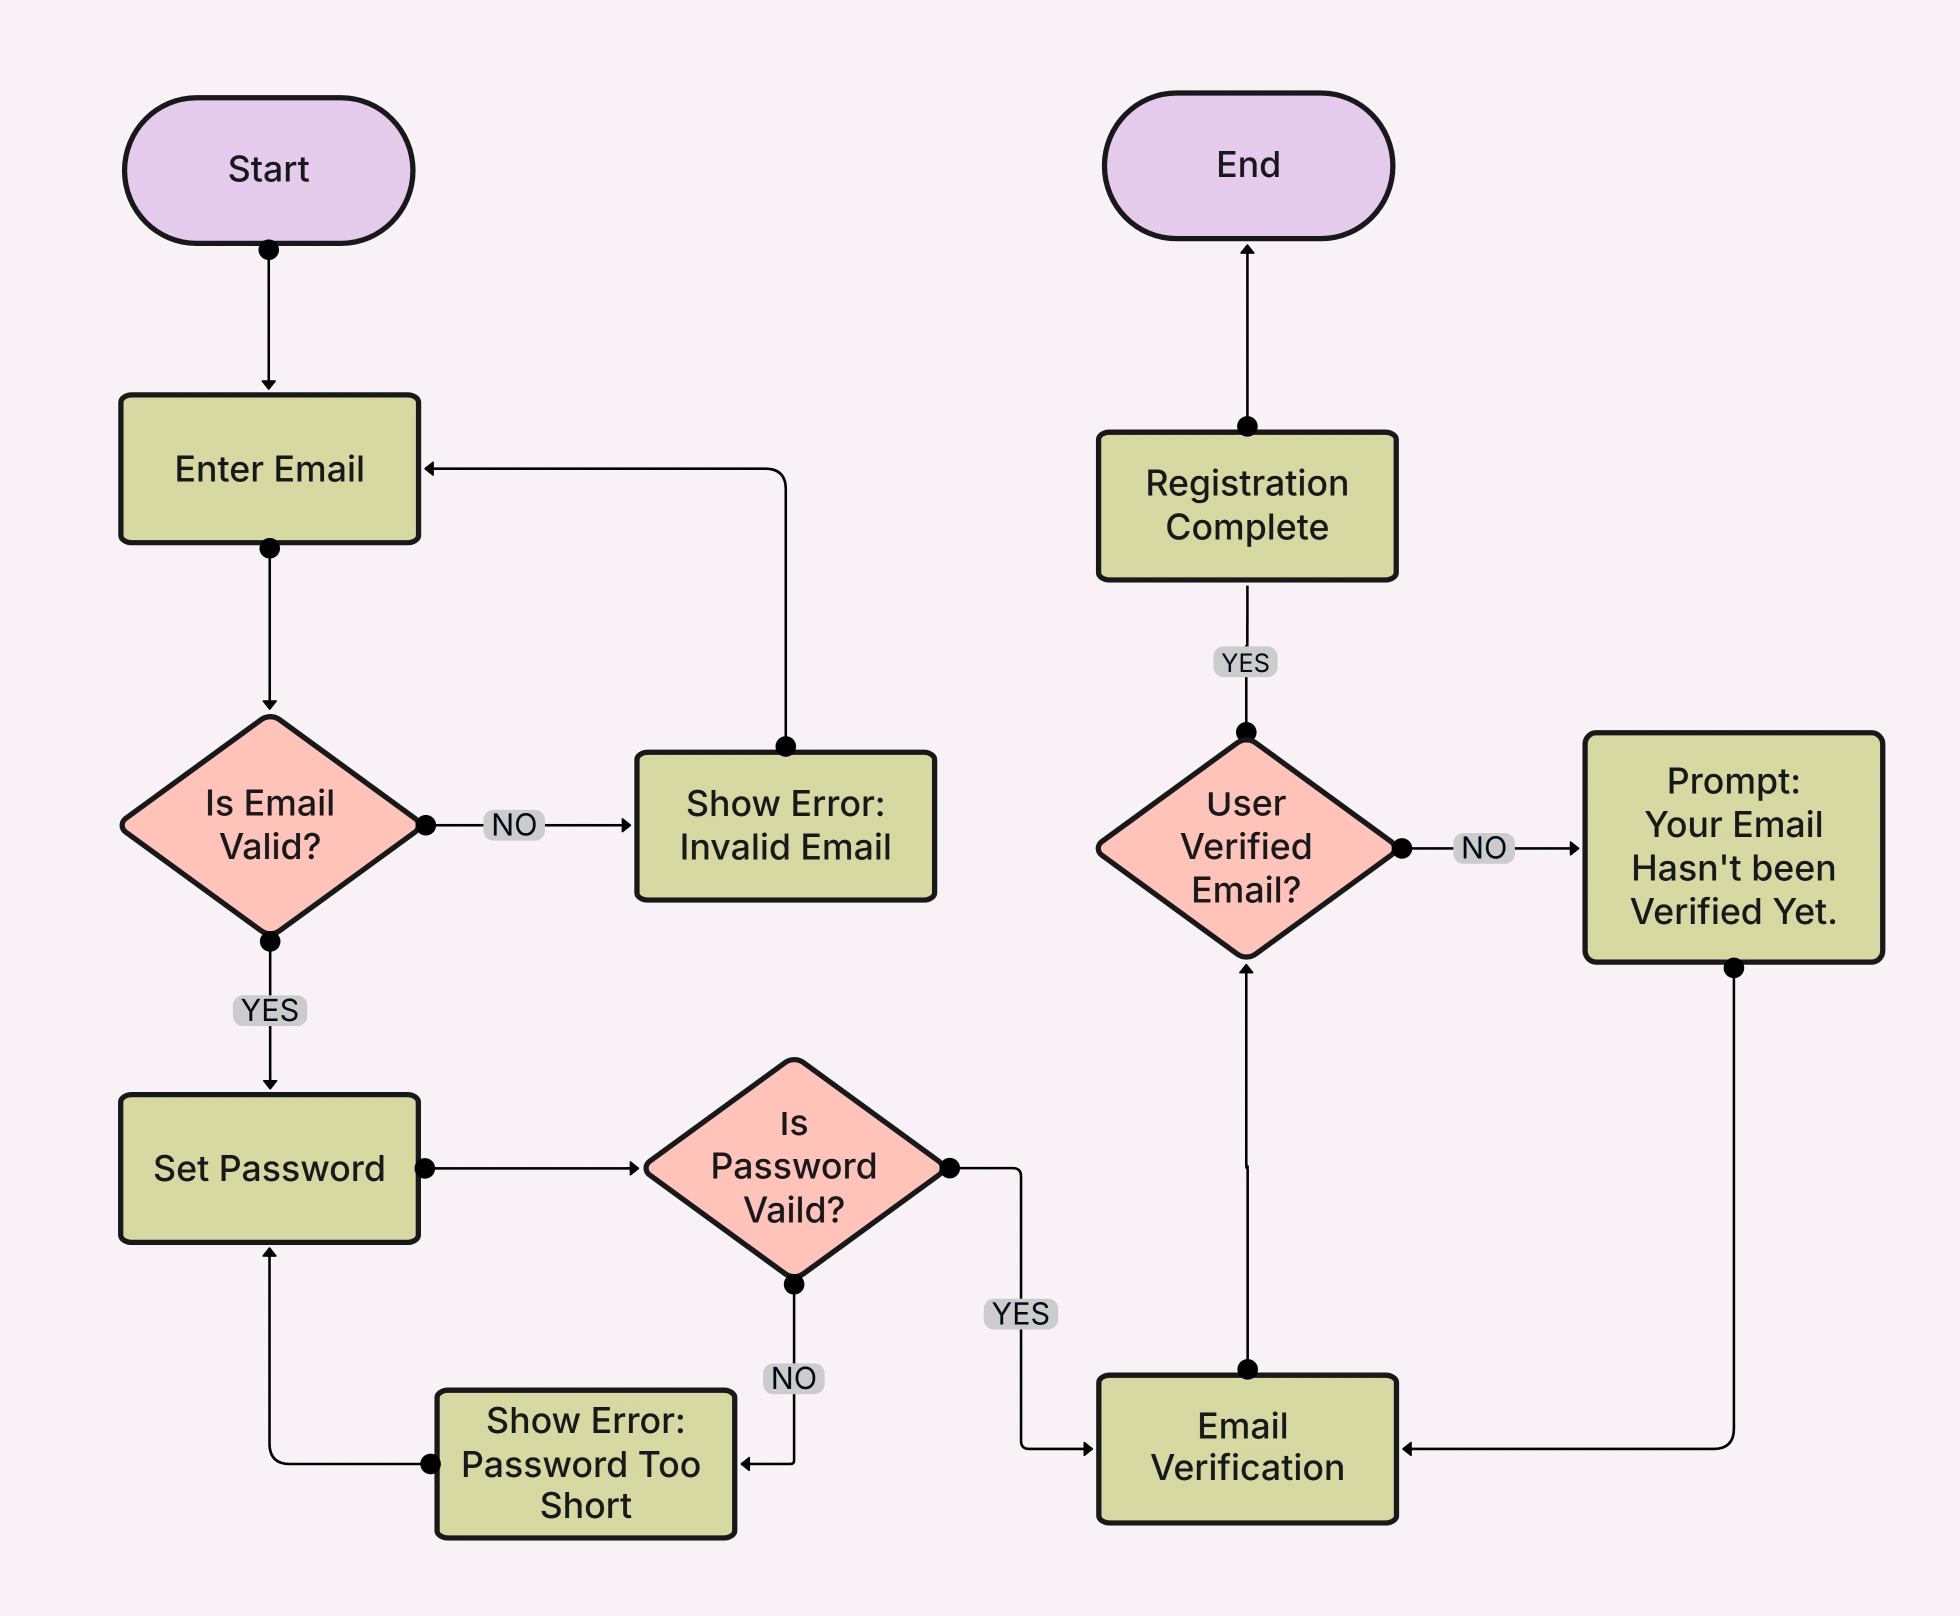
Authentication flow: Visualize register, login, reset, and MFA decisions. QA derives cases for lockout, token expiry, and device change without extra docs.
Support escalation: Show triage, assignment, SLA decisions, and handoffs. Ops spots bottlenecks and automates repetitive transitions confidently.
Keep diagrams lightweight and continuously updated. If it takes longer to maintain than to read, it’s too heavy. Align naming with story titles and use consistent, minimal shapes to reduce cognitive load.
Avoid mixing system architecture with flow detail; link to architecture separately to keep each artifact crisp and purposeful.
Do this:
Avoid this:
Flow diagrams bring Agile teams a crisp, shared view of what gets built and how it behaves across branches and edge cases. They enable smarter slicing, clearer acceptance criteria, and fewer surprises at demo time.
Start mapping your next feature with the Flow Diagram Template inside the Workflow & Process Diagram Maker, and explore the broader landscape in the Workflow & Process Diagrams Guide.
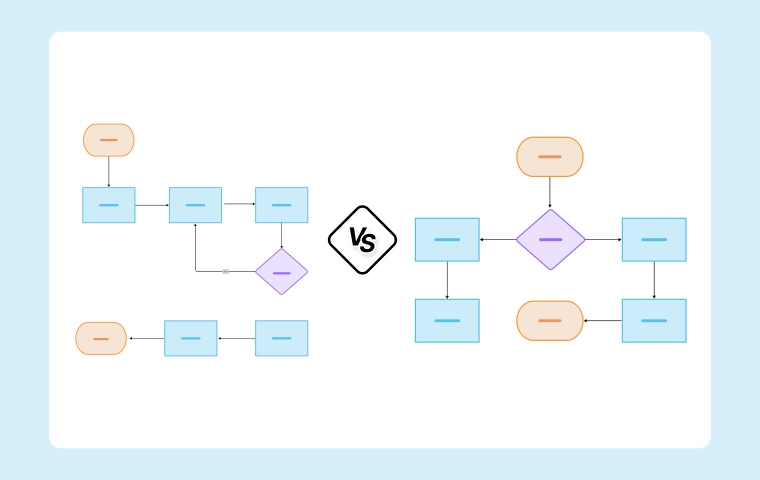
1. Flow diagram or workflow diagram for Agile?
2. How detailed should an Agile flow diagram be?
3. Where should the diagram live?
4. How do we keep it up to date?
5. Can non-dev stakeholders use it?
Start using Cloudairy to design diagrams, documents, and workflows instantly. Harness AI to brainstorm, plan, and build—all in one platform.
Table of Contents

Introduction
 Manage all your work in one placeCollaborate with your teamUse Cloudairy for FREE—forever


 Related Articles
.webp)